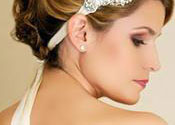
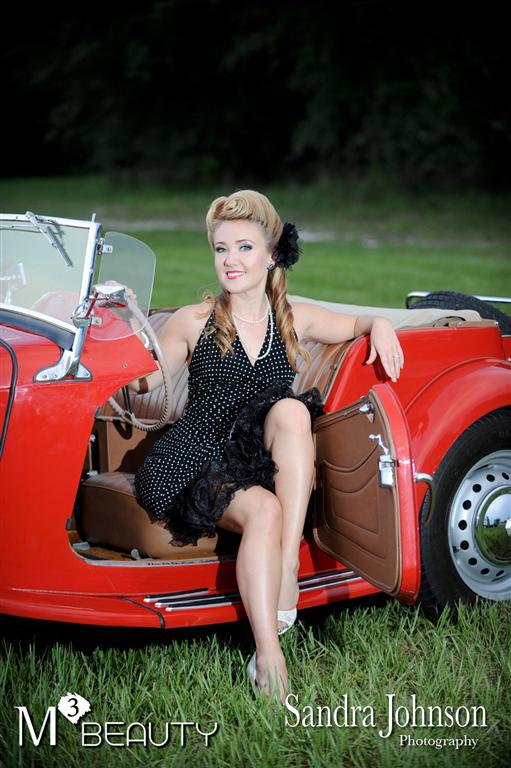
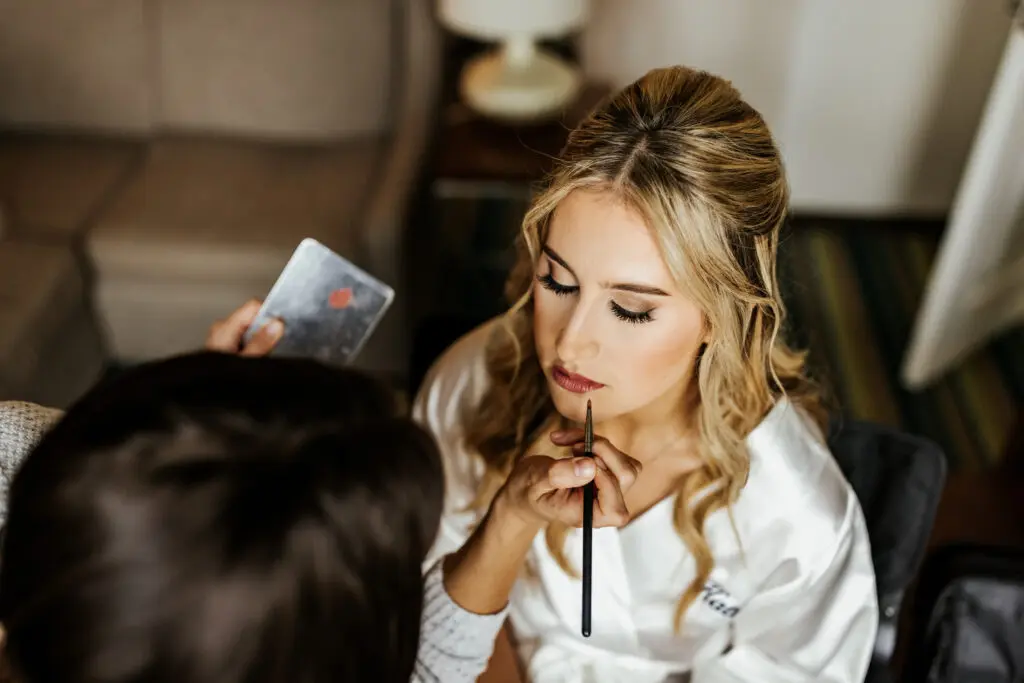
Lights, Camera, Makeup!
Here are our top 10 tips for camera ready makeup to leave you feeling like a star!
Whether you’re prepping for your wedding or a long day under studio lights, everyone wants a makeup look that will look just as great in photos as it does to the naked eye.
But camera ready makeup isn’t about heavy coverage or overly bright colors.
As professional hair and makeup artists, M3 Beauty has a ton of tips and tricks to make sure you’re ready to face the day. With a little skill, you can coax the camera to highlight your best features.
1. Don’t Try Anything New
Don’t get me wrong, we love to experiment with hair and makeup! But trying out a daring new ‘do or a drastic skin care treatment right before your big day is problematic to say the least.
If you just can’t talk yourself out of a new look, give yourself plenty of time to get used to it.
Give new hair colors or cuts a few weeks to grow and become a part of you. If you’re not completely familiar with your look, the camera may pick up on it.
You don’t want chemical peels and other skin treatments right before a shoot, either, as the resulting redness and peeling can be hard to cover up (unless you like that caked-on look).

2. Take Care Of Yourself
We can not stress this one enough!
If you know you have a big event coming up—like your wedding day or a red carpet appearance—eat well, drink plenty of water, and make sure you get good sleep.
There is nothing more radiant and gorgeous than someone who is healthy and well-rested.
The effects of stress and fatigue show up on skin as redness and dark splotches. These can be diffused and concealed by a makeup artist for the most part, but you’ll get the most natural look if your skin is already full of vitamins, minerals, and hydration.
Drinking plenty of water will also keep your skin from drying out and keep swelling at bay.
3. Tame Those Flyaways
This one is overlooked a lot!
It might be easy to ignore flyaways in person, but on camera, they create an unflattering halo that is distracting and messy.
To prevent this, blow dry downward on high and tame any stray hairs with a smoothing serum.
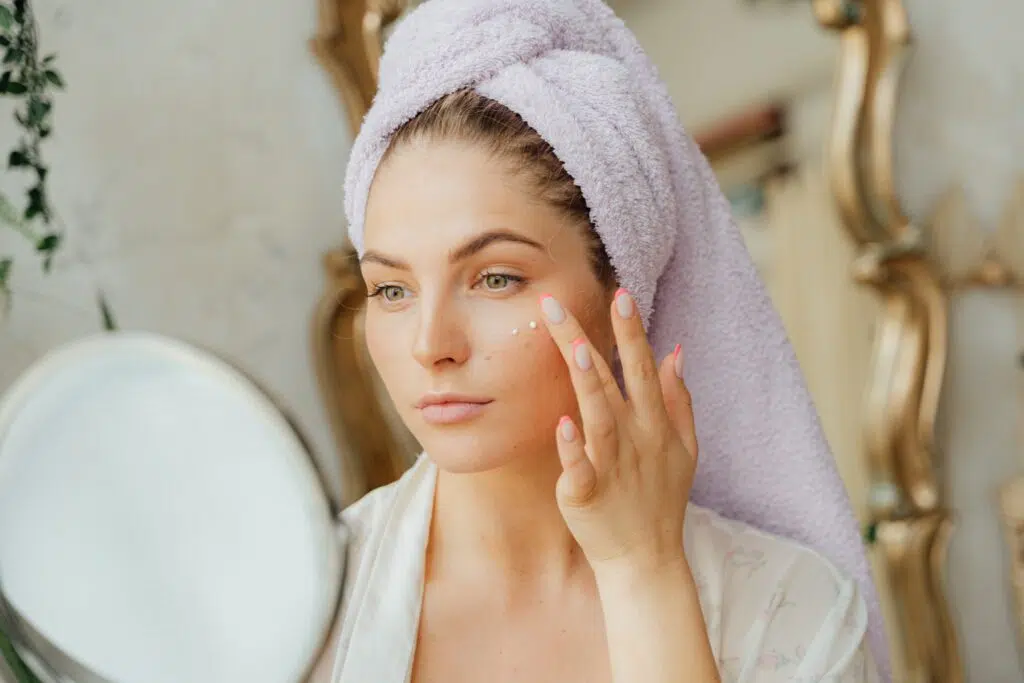
4. Moisturize!
Overly dry or oily skin does not make for camera ready makeup! Instead, clean, moisturized skin is the ideal palette.
Cleanse your skin and apply moisturizer. Then let your skin absorb it before you move on to a good primer.
Do not skip this step! Primer will ensure that your foundation doesn’t settle into any pores or wrinkles. Use eyeshadow primer on your lids, as well.
5. Use a Non-SPF Foundation.
In certain foundations, SPF ingredients tend to look white-ish on camera.
Stick with a non-SPF foundation and blend it well, especially around the hairline and jawline. You might not notice lines of demarcation in the mirror, but the camera will!
If you’re concerned about the sun, pick a setting powder with SPF instead.
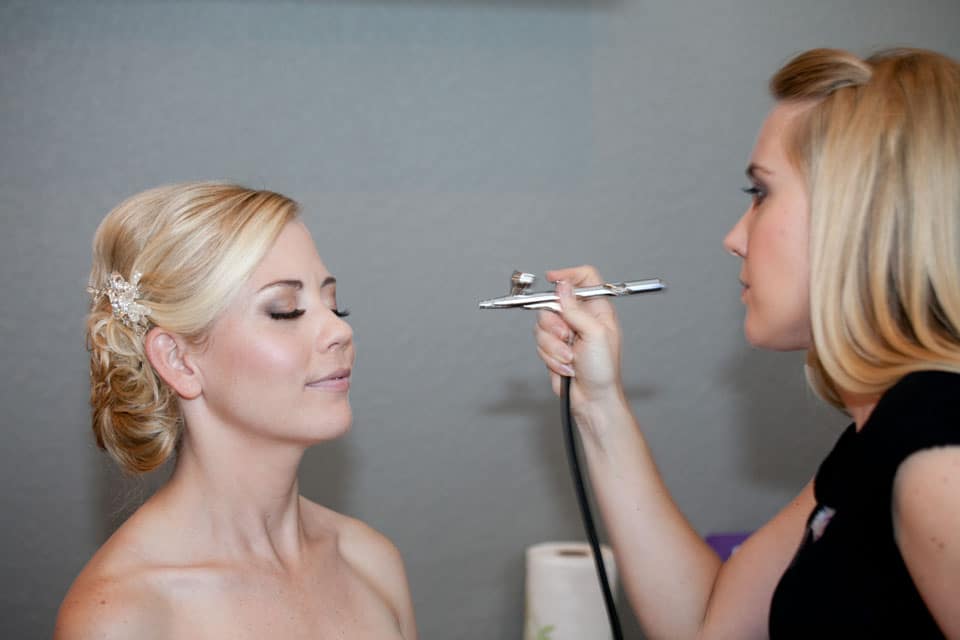
6. Keep Shine In Check
Shine is super-distracting, particularly in HD. If you expect flash photography (and you should!), those external flashes will emphasize shine and pick up on any unevenness.
So how do you combat this?
Start your camera ready makeup with light-diffusing foundations and concealers. These products work by bouncing light around, causing a “blur” effect that minimizes imperfections as well as shine.
If you have access to it, airbrush makeup will give you a subtle glow without looking “shiny.”
When it comes to blush and eyeshadow, the best camera ready cosmetics are natural, matte shades. Too much shimmer will make you look “oily.”
Finally, blot with some oil-removing sheets right before you step in front of the camera.
7. Highlight Sparingly
In general, shimmery or pearlescent makeup doesn’t translate well on camera.
Whereas light-diffusing products create a “blur” effect, shimmer sends bright light in different directions, casting shadows in unexpected places. (Pick the wrong shade and it can even look like dirt.)
Keep bronzer and blush matte, and add some shimmery white or champagne eyeshadow or highlighter in the inner corner of your eyes, the bridge of your nose, your Cupid’s bow, and the top of the cheekbone.
8. Pick the Right Shades
That shade of lipstick might look great on your favorite celebrity or beauty influencer, but for the best event or bridal makeup, you want to look like you.
And the key to natural camera ready makeup is picking the right shades.
Face
Foundation should blend seamlessly with the color of your skin so there is no line of demarcation at your jawline. (If you need help selecting a shade, a professional can help!)
Your bronzer should only be a touch darker than your natural skin tone. Any more will run the risk of looking orangey.
Choose a soft, fleshy shade for the cheeks. Use just a little more than usual so the camera will pick it up.
Eyes
Eyes are the first thing people notice, so select your colors carefully. You want people to notice your eyes, not your makeup.
Pick non-shimmery shades in neutral tones for the lids. Think soft shades, such as beige, brown, pink, or peach.
Full eyebrows project youth and create a natural frame for the eyes. Fill in your eyebrows with a color that matches your natural brow color. Anything darker will age you and bring too much attention to them (and away from your eyes).
Lips
When it comes to lips, avoid extremes.
Too-dark shades will age you and some nude shades will completely disappear on camera. Line lips in a matching shade or slightly lighter than your lipstick.
A touch of gloss can make your teeth look brighter. Don’t go overboard, though, or it will look garish on camera.
9. Contour Carefully
Contouring isn’t just for the Kardashians! This subtle shading method helps to sculpt the face for camera ready makeup that enhances your natural beauty.
We always recommend shading with a matte bronzer. Gently suck in your cheeks and shade underneath the cheekbones. Then smile and dab blush on the apples of your cheeks.
Use a slightly heavier hand with your blush to balance out your eyes and lips on camera. Just be sure to blend well!
Use a liquid liner for your top eyelid, using a soft black, charcoal, or brown.
10. Blend Well
There’s no room for harsh lines in camera ready makeup. Instead, create a soft, diffused look by blending at every step of your makeup application.
Note that “blending” is not the same as “smudging.” When smudging your eyeliner, for example, you’re keeping the color in a relatively small area. But with blending, the idea is to remove lines of demarcation so that your foundation, blush, bronzer, and other products seem to melt into your skin.
This is one area where airbrush makeup really stands out!
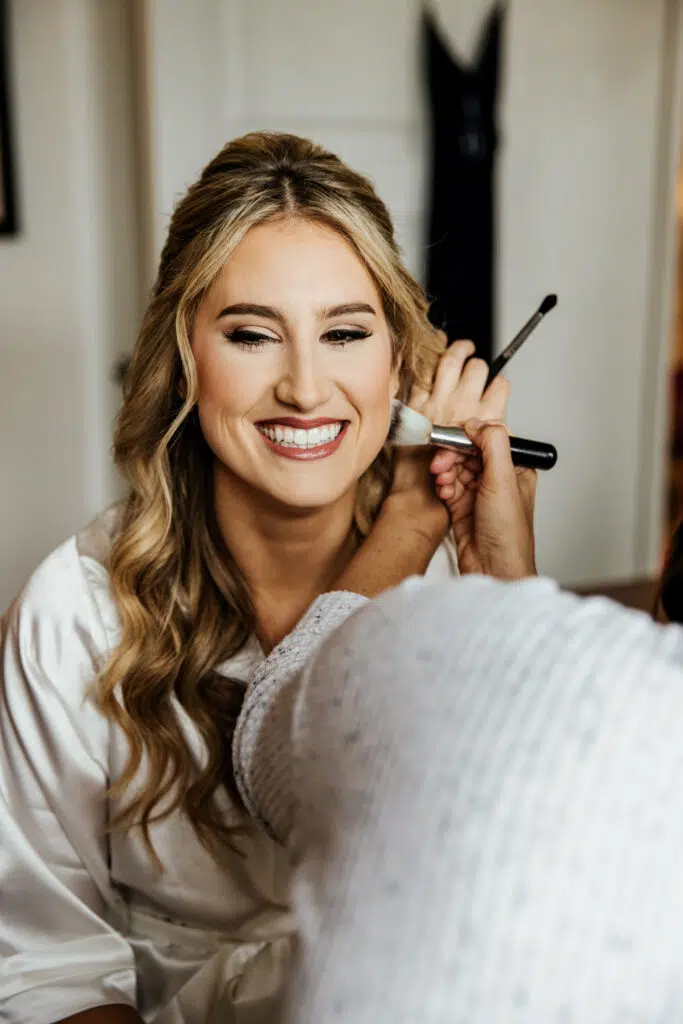
Bonus Tip: For the Best Camera Ready Makeup Look, Use a Pro.
Remember, just because it looks great in the mirror doesn’t mean it’ll look great in photos. So how can you be sure of a camera ready look? With a professional makeup artist!
Expert hair and makeup artists not only know the best products, techniques, and equipment, they understand the difference between a light touchup and a full camera ready makeup look.
At M3 Beauty, our Orlando hair and makeup artists have helped a wide variety of clients—from brides to celebrities—look great on and off camera.
Whether you’re looking for professional airbrush makeup for your wedding day or want a one-on-one consultation to teach you how to put your best face forward, we’ve got you covered.
Call today to make an appointment.